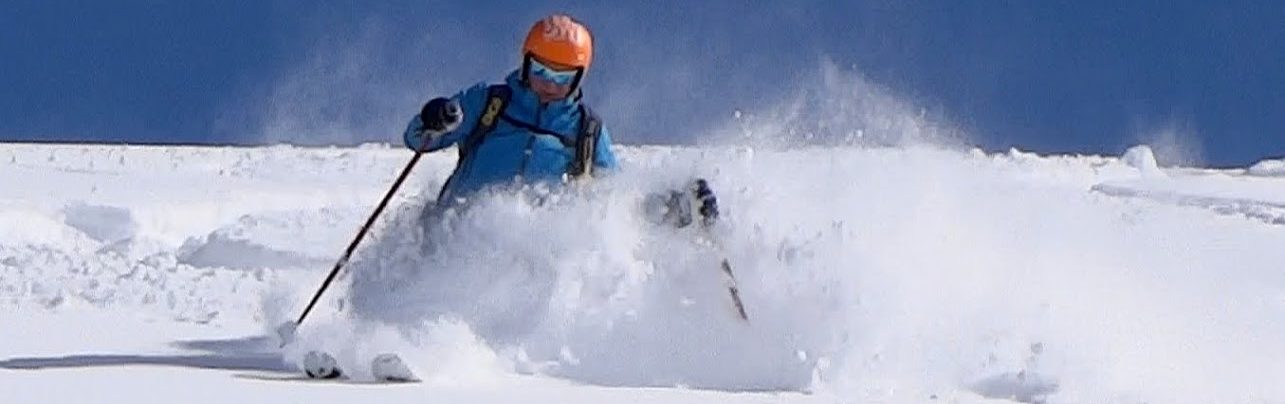
Lindsay has previously suffered ACl and MCl (knee ligaments) damage and was naturally very tentative about returning to skiing – especially as the MCl issue is not entirely resolved.
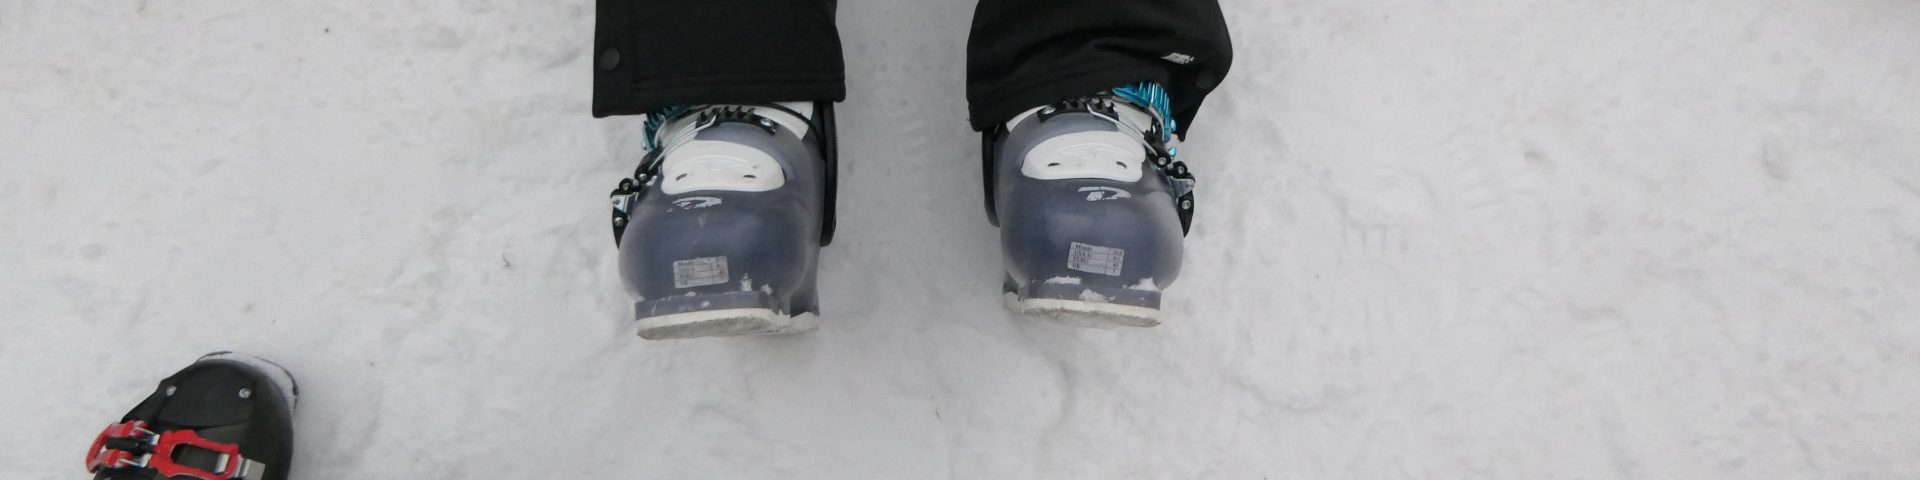
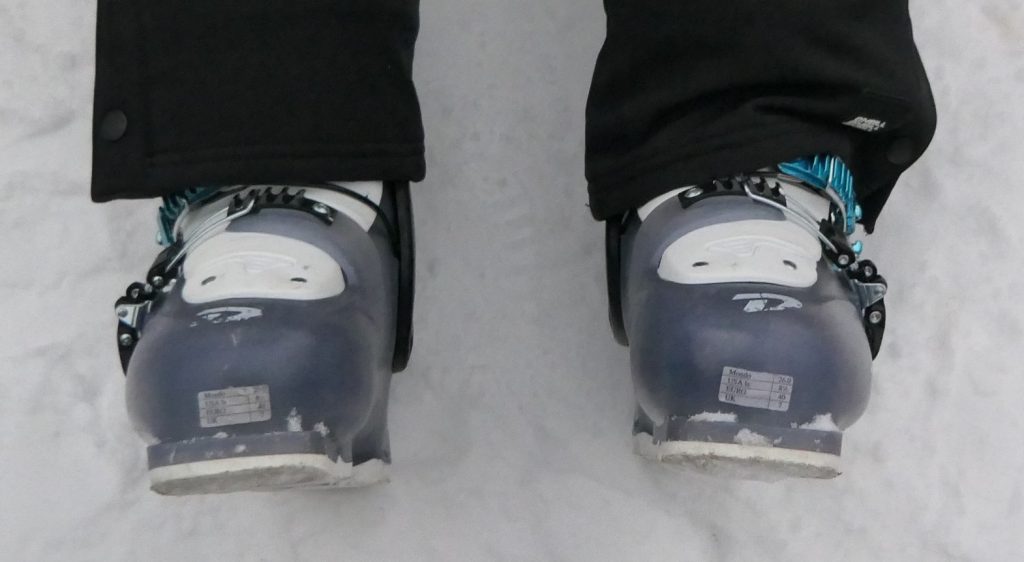
Boot Alignment
Prior to skiing We had a quick look at leg morphology and boot alignment. With the knees locked out straight (sitting) and the hip joint relaxed – feet hip width apart – there was clearly a problem – the boot soles should be parallel. Shops check this with their client standing and flexing the knees – so avoid that as it confuses different issues. The leg locked out straight shows the bone structure and the boot shaft must be aligned to the bone structure – it’s that simple! In this case the canting had already been adjusted – in the wrong direction – but the only suitable answer was to change the boots – in this case for Technicas which were also stiffer. You don’t want boots that are too soft so around flex 95 to 100 minimum. (This varies enormously between brands and models – as does the basic alignment and adjustment range)
Feet
In addition to the boot shaft alignment I noticed that Lindsay pronates her feet and that the Q angle from the hips to the knees is pronounced (femurs pointing inwards). ALL of those things when combined with mainstream ski teaching make a perfect recipe for knee damage. Pronation is easily resolved by simply getting used to standing on the outside edge of the foot (everting the foot slightly) inside the ski boot (forget orthotics – be active with the feet). The ski will still be held on the appropriate edge because of the lateral support provided by the ski boot shaft running up the lower leg – so don’t worry about that. You can still hold the legs together by squeezing the knees together but remain standing on the outside edges of the feet – it’s all about isolating different actions.
Mainstream Legacy Teaching
On the lift up to the training area I asked Lindsay to describe how to make a turn. The response was “Transfer weight, face downhill” etc. There’s too many details to recount here really – everything has a grain of truth in it but in our context such teaching is destructive and dangerous. About 10% of beginners succeed to some degree and return in spite of this situation – a lot depending on their morphology. Kids most often survive this nonsense because they are light, they don’t accelerate on snow (can’t overcome friction) and they are close to the ground when they fall.
Suffice to say – practically everything that needs to be done is the opposite of what is given in mainstream teaching.
Skating (Snowplough killer!)
Walking, running, skating, skiing all depend on one thing – falling! Just like a boat can tack against a wind gravity can be used on flat ground for forward propulsion.
When skating diverge the skis wide from the hips to get them on their inside edges. Keep the feet inside the boots on their outside edges for structural support. (Robin – avoid using the knees to flatten the skis – this is specifically a “foot/ankle” isolated issue!). Use the falling forward between the skis to generate momentum. Minimise any use of the glutes or quads for propulsion.
Practice skating around in a circle on flat terrain to get used to the skis diverging and using the legs independently – changing direction incrementally by pushing the Centre of Mass in the direction you are turning.
Beginners Dynamics Pivot
There are three headings at the top of this blog Beginners, Dynamics and Pivot.
Beginners: Examples of the skating exercises are there on video and some explanation is given though some details have probably changed since I published this. For example ignore all of the references to “inside edge of the foot” This may still be appropriate for some people but I doubt it. Always remain on the outside edge of the foot – no matter what edge of the ski you are standing on. (there’s more to this at advanced levels though but this makes a good general base to build from)
Dynamics: This is critical and we began work with this today. Just “falling” for skating – using gravity – is part of dynamics. Basically it’s about moving the centre of mass in the direction you want to go. The exercise we used is covered in this section. Remember there’s two ways to get pressure on a ski – ether move your centre of mass above that ski “transferring weight” – which is wrong – or accelerating your Centre of Mass away from that ski -into the upcoming turn.
Pivot: I referred to this on the mountain as a “braking turn”. Again ignore my references to “inside edge of the foot” here. I assisted Lindsay though pivoted turns so that she would have a new feeling of how easily a ski turns when it’s not just jammed brainlessly on its inside edge as is demanded by mainstream teaching. The ski pole is used here to stabilise the Centre of Mass so that the ski can slip sideways downhill into the turn. The pole gives confidence and support when moving the Centre of Mass into this tight turn. This contrasts with turning when the skis are travelling more forward and the lifting power of the ski itself stabilises the skier – in a way comparable to a bicycle during a turn.