Dynamics Part 2 – Turn Exit
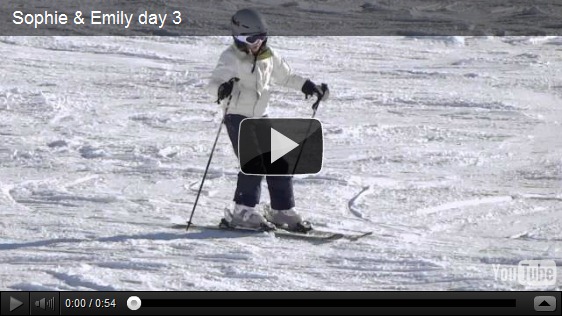
Sophie’s confidence is returning bit by bit so we just worked on consolidating the progress and continued the focus on dynamics. She mentioned that she was having some trouble starting the turn to the left and yesterday I’d noticed on the video that there was a glitch – but the glitch is at the end of the turn to the right. I’d already decided to address this issue by introducing the second part of dynamics – the turn exit. To explain the turn exit I had to clarify the difference between vertical and perpendicular. A motorcycle on flat ground comes up to vertical (to gravity) at the end of a turn and this is also perpendicular to the horizontal ground. On skis at the end of the turn (when using dynamics) you have to come up right past vertical all the way out to perpendicular to the tilted slope to have the skis flat and complete the turn – this position being called “neutral” and lasting only a fraction of a second during turn transition. This is slightly scary and it’s the reason why most people naturally get stuck at this point – especially when completing the turn on their weaker leg. We live most of our active lives in the vertical so it’s normal to have to learn to adapt on a hill where vertical and perpendicular are not the same. Sophie managed to understand and apply this and went a long way towards smoothing out the glitch and also linking her turns better.
Emily here is managing to use the magic wall better while working on dynamics. You can see the increase in inclination supported by the outside ski.
Pivot
I introduced pivoting as the third key element to skiing. 1 being dynamics, 2 being skating and 3 being the choice of edge for turn initiation. After demonstrating the very tight turns being initiated from the outside edge I then assisted both Sophie and Emily through a couple of pivots so that they could learn to identify and understand the feeling of sideslipping into a smooth turn at very low speed. This is technique that is used for direct “fall-line” skiing and is extensively explained here!
Feet and Stance
Once indoors at the end of the session I took the opportunity to explain the correct use of the feet. From placing the weight on the heels the subtaler joints between the heels and the ankles were introduced to show how they are used to rock the feet and place them on their edges – which correspond to the edges of the skis. I showed how this actually slightly turns the foot in the opposite direction form the turn. The foot rolling was then linked to the adductor muscles on the inside of the leg – which is the correct muscle coordination for holding a ski on edge. Snowplough actually uses the muscles on the outside of the leg and prevents development of this coordination. I also demonstrated that standing on the middle to front of the foot and flexing caused all of this control to be lost and for the knees to twist vulnerably into the turn instead. For stance the important thing to feel is the strengthening of the ankle when flexing and how the bending is now in the knee and hip instead of at the ankle. The anterior tibialis muscle in front of the shin must tighten when standing on the heels and bending and the quads are used in the legs – the movement resembling more of a squat with the knees and feet being ahead of the hips and better able to respond to terrain and bumps or deep snow.

