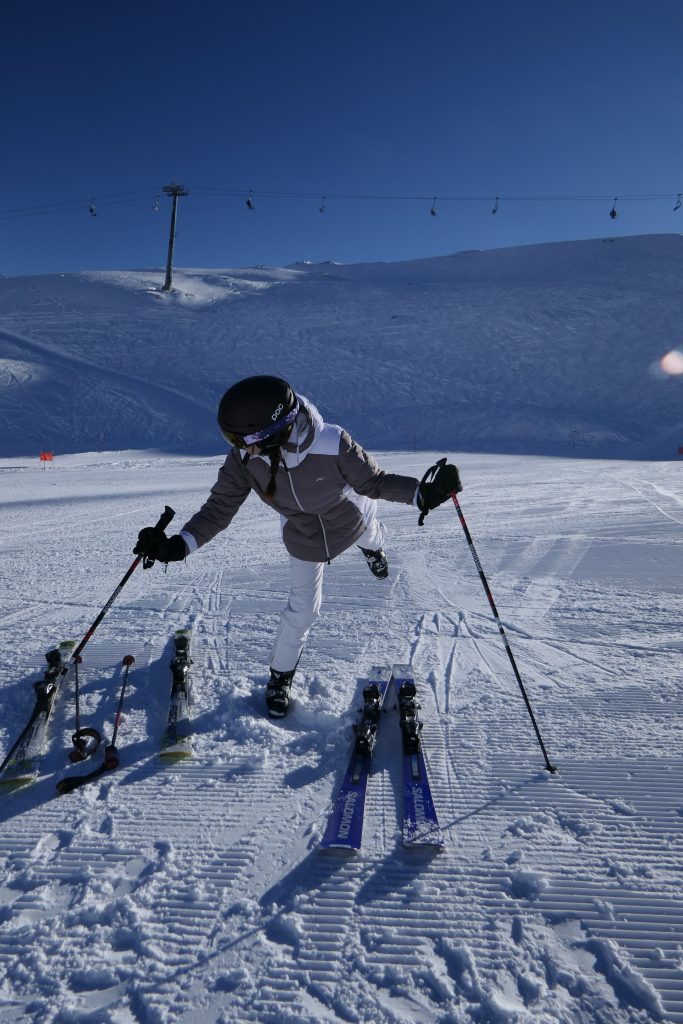
Amy today working mainly on developing hip angulation with three key factors…
- Pushing the outside foot forward
- Pulling the outside hip backward to trigger postural muscles/core
- Dropping into the turn at the relaxed hip joints while keeping the outside leg extended
(The “inside” leg when sitting on the bench is only left in an “A” Frame position to allow the hips to have maximum flexibility – which is the most important aspect of the exercise. A similar “A” Frame is seen in the ice skater exercise in the second video on this page)
Persist with Pivot/Swing and Compression/Retraction timing – it takes time to develop those skills but they are essential for safe all round skiing and don’t really take a lot of work.
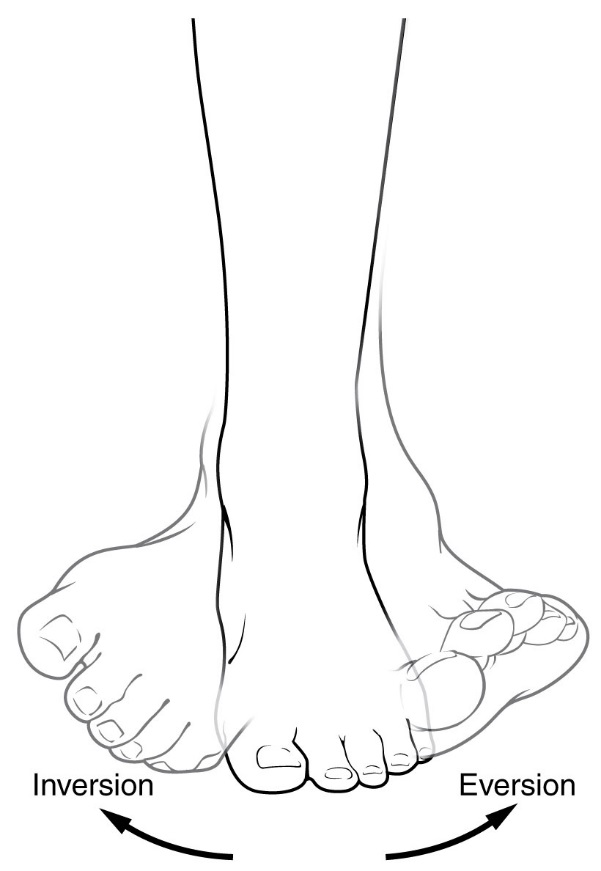
Everting the Feet
When the skis are parallel the feet still “diverge” (as if skating) inside the ski boot – each foot being turned outward (everted). This obviously isn’t visible. This is to combat the tendency to twist the foot inwards to”turn” the ski directly -a mistake which flattens the ski and causes loss of grip.
Feet Forward Technique
“Feet Forward Technique”… gives security through the start of a turn on steep terrain by tightening the turn radius.
Pushing the outside (uphill initially) foot forward during the turn. The foot never gets in front of the other foot – it just tightens the turn instead.
The exercise is practised with skis off and standing in ski boots. For this static exercise we use ski pole support with the body faced downhill with the uphill foot pointing across the hill and the downhill foot pointing downhill and the heel jammed into the snow. The uphill boot is pulled over onto its inside edge and pushed forwards in a natural arc.
Here is some video of exactly the same action in ice hockey training. In skiing the direction of travel would be straight downhill instead of straight ahead on the flat ice.
Body Management (Hip Angulation, Anticipation, Control of Rotation, Linked Short Turns)
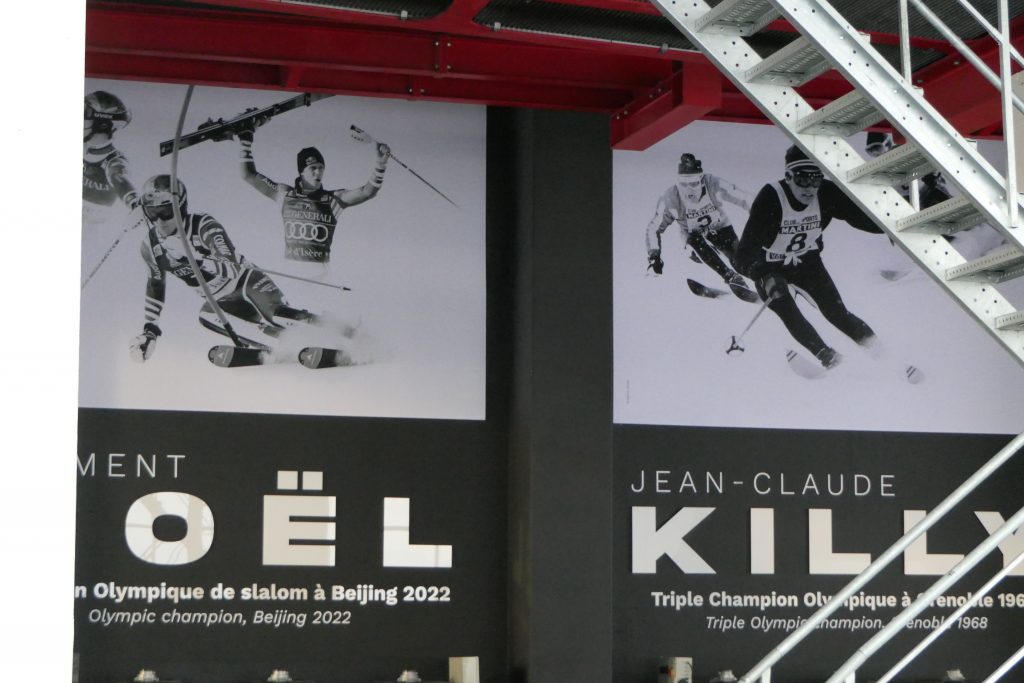
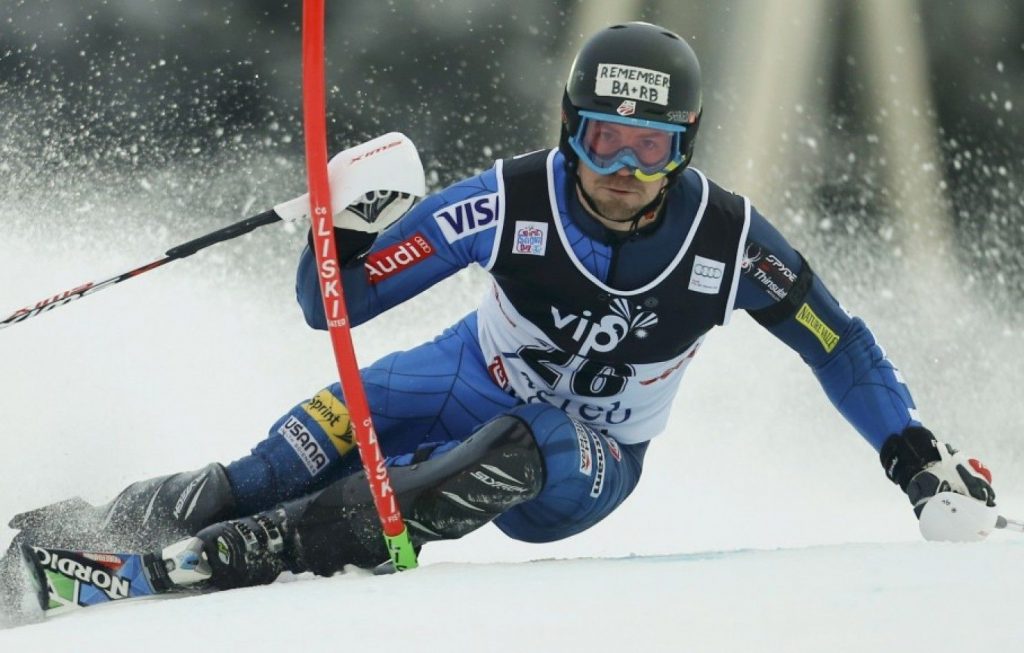
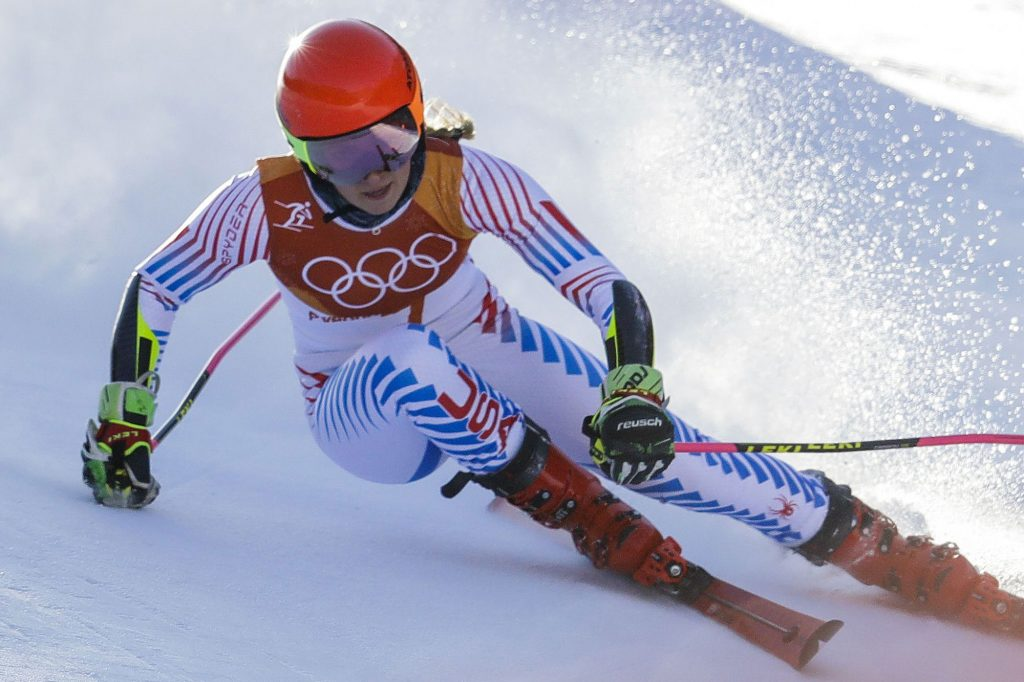
Take a look at the two Olympic champion skiers in the photograph below.
Killy’s image from the 1960s has his chest facing downhill whereas Noel’s image from 2022 has his chest facing forward. What Killy is doing destroys your lower back and is probably why he never went on skis again after he stopped racing.
Protecting the Spine
- Hold the front of the pelvis up – aiming for “neutral pelvis”
- During the turn pull the outer hip backwards so that the ski doesn’t pull it in front of your ribs
- Look for a stretch between the ribs and hip joint
- Look for a reflex contraction of the lower abdominals – the postural reflex
- Keep the shoulders/chest following the skis (to some degree)
- Always “counter turn” the pelvis more than the chest/shoulders (It’s only the pelvis that should “face downhill”)
- Pulling the hip backwards also prevents both hip rotation and full upper body rotation
Source of Hip Angulation
The upper body needs to tilt forward over one hip joint – then rotate around it. This is in addition to pulling back the outside hip etc.
The body shape produced alters the location of the centre of mass enabling pressure on the ski fronts and also greater agility both into and out of turns – and pole planting if the skis are swinging laterally.
The hip angulation also provides flexion of the hip joint that gives absorption of shocks. Increased angulation also increases the edge angle of the skis to the snow and may alter the turn radius and grip.
Angulation when upright and pivoting has another function – when ANTICIPATING the next turn it is used to get the Centre of Mass out of the existing turn (by tilting the torso forward at the hip ) and letting the Centre of Mass move over the skis to plant the ski pole downhill for a strong, clear and definite support.
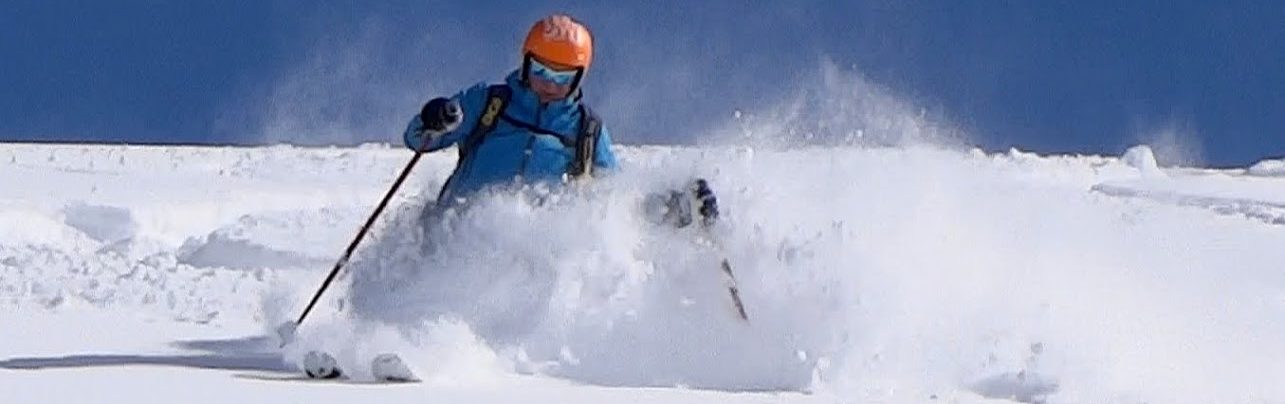
When the entire body inclines into the turn with hip angulation present this below is what it looks like.
Dynamics 4 (Advanced Angulation)
Creating “angulation” is exactly like dropping one cheek of your bottom onto a chair placed at the side of your body. This gives the impression of “facing downhill” in shorter turns – which is actually an effect not a cause or intention. The action is centred on a relaxation of the hip joint (outside leg) and a falling into the turn particularly in the second half of the turn . The turn initiation (short to medium radius) is with the skier’s pelvis (not necessarily the chest) facing downhill – thrusting the upper body directly downhill while the skis travel across the hill.
Short Swings / Jump Turns / Swing Weight
If a jump is made while solidly planting the ski pole then there is zero resistance on the skis so they can literally pivot in mid air – swinging the ski fronts into a turn. Coordination for this is tricky initially and usually work has to be done even on jumping correctly. Most people retract their heels when jumping but they should fully extend their leg in mid air to raise the centre of mass and then flex on landing to absorb the impact smoothly. The soft landing helps to generate a smooth pivot. It’s only necessary to swing the skis a few degrees in the air and then land on the uphill edges to continue a smooth pivot. The pressure cycle and dynamics of coming down into the turn from landing also help to drive the pivot once it has been initiated. When turns like this are linked with a rebounding effect and fluent rhythm they are called short swings. Most people at the start are unable to keep their body from rotating or pushing out the heels/ski tails so they are often unable to use their ski poles properly and unable to keep a good rhythm or accurate coordination.
Moguls/Bumps (Compression Turns)
Here’s a useful video showing proper compression turns at an advanced level. (Warning! – The drills used to “teach” in the clip are mainly inappropriate and fail to show the pivoting nature of bump skiing. However the advanced dynamics used by the demonstrators are correct.)
Competition bumps skiers have their feet close together and many people swear by a “two footed” platform off-piste. This works because both skis pivot always on their uphill edge. The feet are always kept downhill of the body and so are the knees. Using the adductor muscles of both legs pulls the skis together and strengthens the stance. It’s important however to always orient the body on only one hip – preferably the outside one. The hip is the biggest joint in the body and it is very close to the centre of mass. Any confusion around this area leads to confusion everywhere. Motion starts from the centre of mass – so use your outside hip in the turn – pulling it backwards during the turn – to get your reflexes working and your core muscles protecting your back the most efficiently possible.
For bumps the two ski pivot prevents the feet from diverging off in different directions – and it gives two edges for controlling speed in what is after-all a braking form of turning. The overall stance is similar to off-piste but is part of a “compression turn” which has it’s own page here for reference (or soon will have). Avoid resorting to pushing out the heels – it’s always a pulling inwards that’s required.
Introduction to Carving
- while standing still reach one leg out to the side with the ski on edge and then pull it inwards scraping the ground
- now do the same while sliding forward and maintaining some pressure on the extended ski (on gentle and wide terrain)
- the ski will carve an arc with no skidding
- as speed increases the other leg – acting as a stabiliser – can be gradually drawn closer to the extended leg by actively using the adductor muscles
- the main principal exploited here is the direct tension of “pulling” – relating to the analogy of spinning a ball on a string above your head – the only force on the ball is the string pulling inward. Here our centre of mass becomes the anchor pulling the “string”. However – with a bit more speed the “centripetal” force towards the centre comes entirely from the carving ski pushing you inwards.
- the upper body is held over the inside ski – with the belly button centred over the ski and facing the ski tip. Looking down you should see the inside ski midway between your arms.
Dynamics 5 (Turn Exit)
Where exactly is the end of the turn? Most people automatically assume that it’s when they are vertical and moving across the hill. For “dynamic” skiing that is not correct. The skier has still not completed the turn. The turn is only over when the skier is crossing the hill with the skis flat and the body momentarily perpendicular to the hill. This can naturally only be sustained very briefly and is part of a dynamic process. The turn completion is every bit as important as the turn initiation.
Very tight pivots also require the upper body coming over the lower ski early but in this case using an aggressive and supportive pole plant.