
- Pivot (Compression Turns)
- Introduction to Carving
The girls have progressed with basic pivoting – so it was appropriate to introduce “timing” because most pivoting is accompanied with some degree of leg retraction. We worked for a while focusing on appropriate use of the adductor muscles in the legs. (Fully explained with links on day 2)
Until now the only timing they have experienced involves a leg extension to launch the start of the new turn. We haven’t gone deep into this technically – they know it’s like a skating action and the body inclines into the turn.
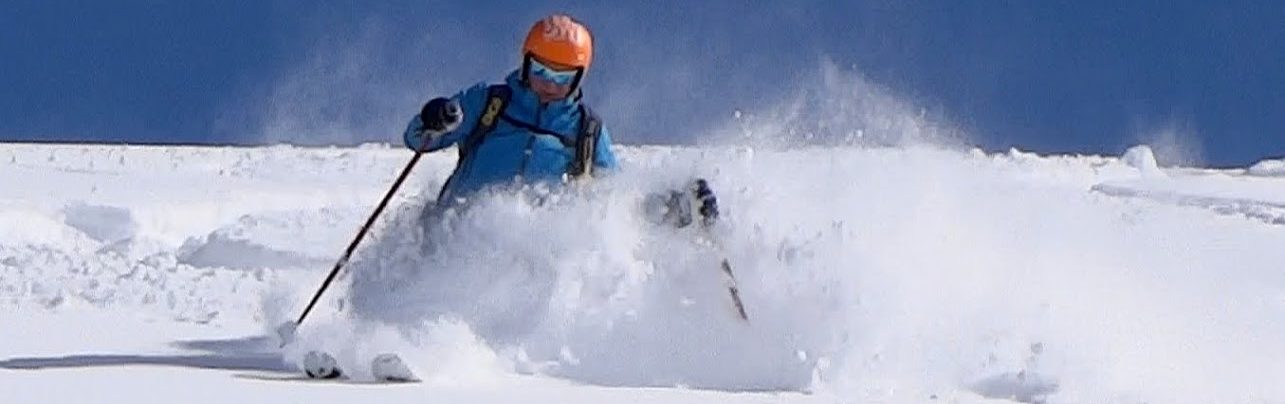
The opposite end of the spectrum is when a dramatic retraction/compression is used to cross over the skis by bending to at least 90° in the hips and knees with the body “sucked” downhill – followed by a full extension of the legs through the turn. This simulates the compression of a mogul – the skis are pivoted with the feet together and hip angulation strongly anticipates the falling of the compressed body downhill -aided by a strong pole plant.
Once the two extremes of timing are mastered then they can be combined and mixed for a full range of possibilities. This is one of the main aspects of versatile skiing.
When people who have never experienced a change in timing try this they never get it initially – and nobody in the group got it – but that’s totally expected. One day 2 nobody could pivot but they all can now.
We also prepared with exercises for the Fun Slope to go faster with proper carving technique – railing the edges of the skis and supported with hip angulation.
Compression Turns
Here’s a useful video showing proper compression turns at an advanced level. (Warning! – The drills used to “teach” in the clip are mainly inappropriate and fail to show the pivoting nature of bump skiing. However the advanced dynamics used by the demonstrators are correct.)
Leg Retraction
“Leg retraction” – the extended downhill leg at the end of a turn is retracted to allow the body to cross over the skis into the next turn the fastest way possible – then the new outside leg extends (independent leg action). The video below shows a top World Cup racer using this movement pattern. It’s easier to learn this pattern first and apply it to “normal” skiing before learning how to retract both legs simultaneously with the feet together to absorb bumps.
Introduction to Carving
- while standing still reach one leg out to the side with the ski on edge and then pull it inwards scraping the ground
- now do the same while sliding forward and maintaining some pressure on the extended ski (on gentle and wide terrain)
- the ski will carve an arc with no skidding
- as speed increases the other leg – acting as a stabiliser – can be gradually drawn closer to the extended leg by actively using the adductor muscles
- the main principal exploited here is the direct tension of “pulling” – relating to the analogy of spinning a ball on a string above your head – the only force on the ball is the string pulling inward. Here our centre of mass becomes the anchor pulling the “string”. However – with a bit more speed the “centripetal” force towards the centre comes entirely from the carving ski pushing you inwards.
- the upper body is held over the inside ski – with the belly button centred over the ski and facing the ski tip. Looking down you should see the inside ski midway between your arms.